My Hands-On Experience with the USB-C PD Trigger Board
If you're anything like me, you have a plastic bin somewhere in your garage overflowing with bulky, proprietary AC adapters. Every time I want to power an old router, LED light strip, or a random piece of audio gear, I have to dig through that tangled mess. I finally got fed up and decided to modernize my workbench. That's what led me to pick up this 2-pack of USB-C PD Trigger Boards.
Before diving into the nitty-gritty of my project, you can check today's price to see if they fit your budget.
What Exactly Is This Thing?
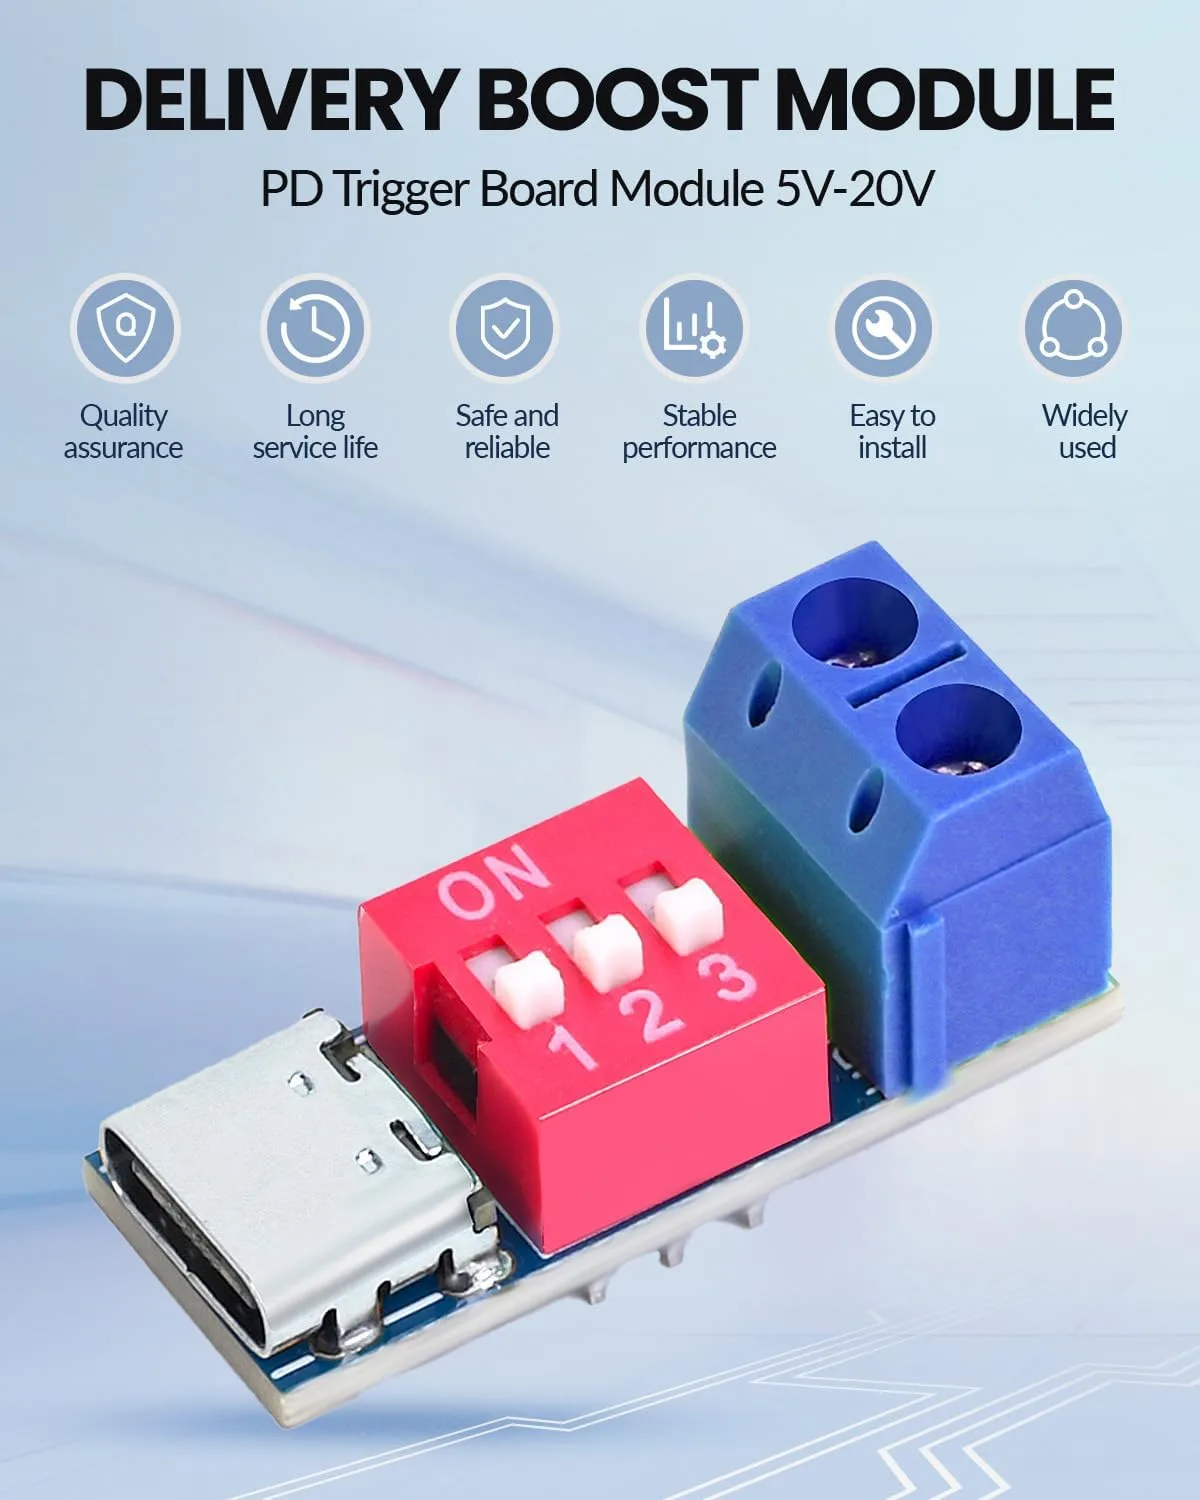
For the uninitiated, a decoy or trigger board is a tiny piece of circuitry that tricks a modern USB-C Power Delivery (PD) or Quick Charge (QC) charger into spitting out a specific voltage. By default, a USB-C port outputs a perfectly safe 5 volts. But with this little board wired into your device, you can tell the charger to give you 9V, 12V, 15V, or even 20V instead.
I bought this specific 2-pack because I wanted to convert an old 12V networking switch and a 20V laptop to run entirely off my high-wattage GaN wall charger. Spoiler alert: the project was a success, but it wasn't without a few minor headaches along the way.
First Impressions and Build Quality
When the package arrived, I was genuinely surprised by how small these boards are. They are barely larger than the USB-C receptacle itself. This is fantastic if you want to embed them directly inside the plastic housing of whatever old device you are modifying. They take up practically zero space.
The PCB feels solid in the hand. The copper traces are clean, and the USB-C port clicks nicely when you plug a cable into it. It doesn't feel loose or cheap, which is a common issue with budget electronic components. For the couple of bucks I spent, I was impressed. If you want to grab a set for your own parts bin, you can grab it on Amazon.
Setting It Up: The Good and The Annoying
Here is where things get a bit DIY. You don't just plug this in and magically get the voltage you want. You actually have to configure the board first.
Let me talk a bit about the actual modification process. To get this module working, you have to bridge specific tiny pads on the back of the PCB with solder. I highly recommend using a good quality flux pen and a pair of magnifying tweezers if you have them. I tinned the pads first, then applied a tiny bead of solder to bridge the connection for a 20V output. Because you get two in a pack, I felt a lot less pressure. If I accidentally lifted a pad or burned the first board with my iron, I had a backup ready to go. Luckily, the PCB held up perfectly to the heat.
Once configured, the voltage negotiation is rock solid. I hooked up my digital multimeter before connecting the board to my precious electronics. When set to 12V, my meter read exactly 12.05V. When set to 20V, it read 19.95V. It perfectly triggered the PD profiles on both my wall charger and my portable power bank. I even ran a heavy load through it for an hour, and the little board barely got warm.
However, there was one major annoyance. There were absolutely zero instructions included in the little anti-static bag. Nothing. Zip. I had to go back to the product listing photos and scour the internet to remember how to bridge the tiny solder pads to select my desired voltage. Also, because the board is so incredibly small, the soldering pads for the output wires are very close together. If you have shaky hands or a massive soldering iron tip, you're going to have a bad time. You need a fine tip and a bit of patience to avoid accidentally bridging the positive and negative terminals.
Who Should Buy This
- DIY Electronics Hobbyists: If you love modifying old gear and know your way around a soldering iron, these are a dream come true.
- Cable Minimalists: Anyone trying to eliminate bulky wall-warts and run everything off a single, high-power USB-C charging station.
- Makers: Perfect for custom 3D printing projects, robotics, or portable battery-powered setups where space is at a premium.
Who Should Skip It
- Beginners: If you don't own a multimeter or don't know how to solder, do not buy this. Getting the voltage configuration wrong will instantly fry your device.
- Plug-and-Play Users: If you just want a simple cable that converts USB-C to a barrel jack without any modification, save yourself the hassle and buy a pre-made PD trigger cable instead.
The Final Verdict
After a few weeks of using these boards daily, I'm highly satisfied with the results. My old networking switch is happily running off a standard USB-C cable, freeing up a massive amount of space on my power strip. Yes, the lack of a physical manual is annoying, and the tiny solder pads definitely require a steady hand. But for the low price and the reliable performance, they are absolutely worth keeping in your toolkit.
I already ordered another set for an under-cabinet LED strip project I have planned for next weekend. If you are ready to ditch your old AC adapters and start modernizing your gear, you can see what others paid and pick up a pack for yourself.